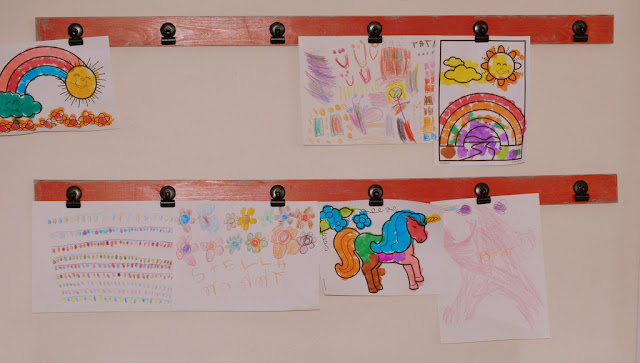
Very inexpensive, and I really, truly love it. So do Ben and the girls, especially Stella.
A little how to explanation?
Since, I did get a cheaper type of wood,
I lightly sanded it removing the rough spots around the knots and edges.
Then I painted it with paint we had on hand. It was either black, white, or red. Knowing this would eventually go in a play room when we move, I went bold!
Once dry, I screwed on the frame hangers.
Next up for supply list. I chose regular bulldog clips, but they make different kinds now, extra large, square, colored, etc.
As you can see, I spray painted mine. I thought they were a bit too shiny for the bold red. Then I measured out where I wanted them and Gorilla Glued them on.
I couldn't help it. I am very particular about distressing things. It has to be the right piece and there can not be too much in one room. I had this sample paint left over from a year ago and it was love at first sight.
Voila! Now, had I not insisted to myself that the clips needed to be painted, this project would have been under $15!!! Had I found wood scraps I liked, it would have been under $10!!! Now go...go to Home depot and make a mini one or an extra large one for your office, or kitchen.
I think if you took the time to layer the wood to make it look like molding, it would be pretty snazzy in an office holding reminders, calendars or photos. Right?!


I like this one! Perhaps it will work in our new basement craft area! Plus, I used your idea from your last house in my kitchen - http://counterfamily.blogspot.com/2010/10/just-another-diy.html
ReplyDeletePS - In case you are wondering about this random person commenting on your blog. I'm a friend of Ben's from SCHS and starting following your blog after he put it up on FB. Good stuff! Thanks for blogging!
Delete